jQuery3で、フォーカス列に色を付けます。
【手順】
1.『jQuery3.1.0のダウンロード方法』の手順で、jQuery3.1.0をダウンロードしておきます。
2.『index.html』というファイルを作成。
3.『index.html』を以下の様に入力。
<!doctype html>
<html>
    <head>
        <script src="jquery-3.1.0.min.js"></script>
        <script>
            $(function(){
                $("th,td").hover(function() {
                        var colNo = $(this).index() + 1;
                        var selectorColumnCell = getSelectorColumnCell(colNo);
                        var cells = $(this).closest("table").find(selectorColumnCell);
                        cells.addClass("focus-col");
                    }, function() {
                        var colNo = $(this).index() + 1;
                        var selectorColumnCell = getSelectorColumnCell(colNo);
                        var cells = $(this).closest("table").find(selectorColumnCell);
                        cells.removeClass("focus-col");
                });

                function getSelectorColumnCell(colNo) {
                    var selectorTh = "th:nth-child(" + colNo + ")";
                    var selectorTd = "td:nth-child(" + colNo + ")";
                    var selectorColumnCell = selectorTh + "," + selectorTd;
                    return selectorColumnCell;
                }
            });
        </script>
        <style>
            .focus-col {
                background-color: pink;
            }
        </style>
    </head>
    <body>
        <table border="1">
            <thead>
                <tr>
                    <th>番号</th>
                    <th>名前</th>
                    <th>備考</th>
                </tr>
            </thead>
            <tbody>
                <tr>
                    <td>1</td>
                    <td>あああああ</td>
                    <td>AAAAA</td>
                </tr>
                <tr>
                    <td>2</td>
                    <td>いいいいい</td>
                    <td>BBBBB</td>
                </tr>
                <tr>
                    <td>3</td>
                    <td>ううううう</td>
                    <td>AAAAA</td>
                </tr>
            </tbody>
        </table>
    </body>
</html>
4.ダウンロードした『jquery-3.1.0.min.js』と『index.html』を同一ディレクトリに配置します。
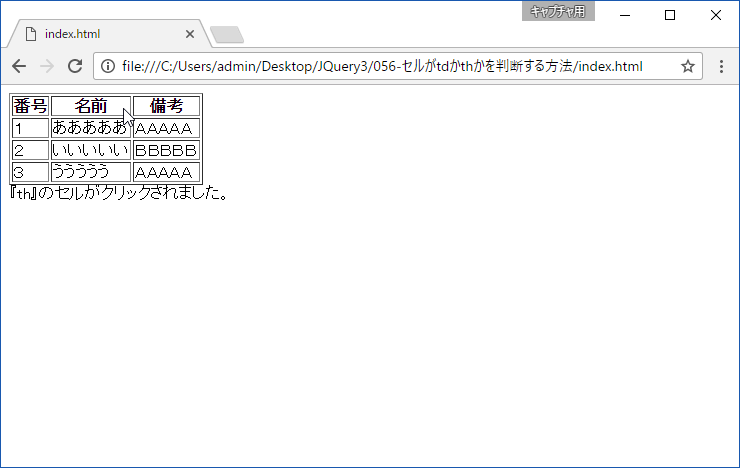
5.『index.html』をブラウザで開きます。
6.以下の様に表示されれば成功です。

以上です。